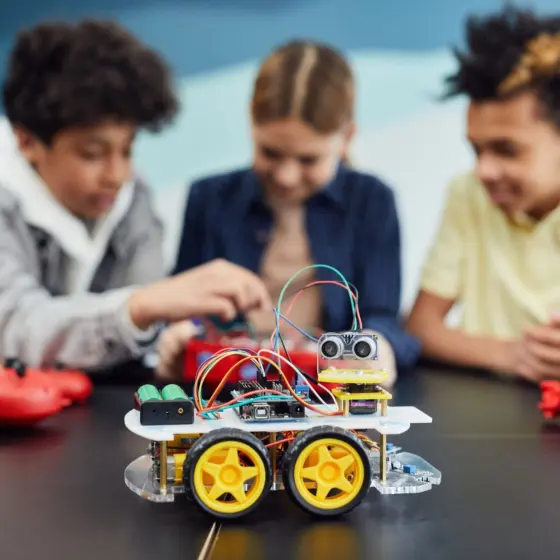
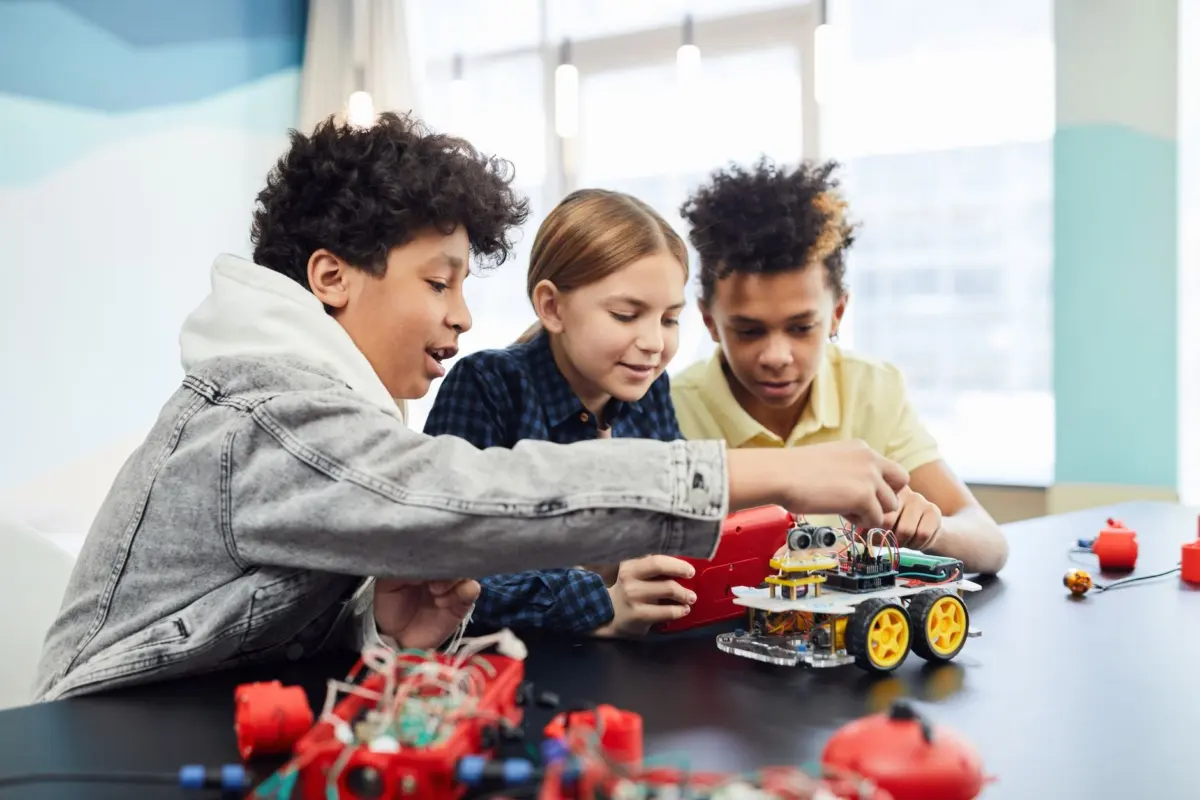
What is robotics for kids? It is hands-on learning where children build, program and test robots, drawing on science, mathematics, technology and design. Simple kits suit kindergarten-age beginners, and the challenge grows with age.
The right activity depends on a child’s stage more than on the brand of kit. Household robots are a separate topic; the consumer robots hub covers choices such as the best robot vacuum.
How robotics for kids works
SmartLab describes robotics as a multidisciplinary field that combines science and mathematics with technology and design. Teach Kids Robotics calls it a hands-on way for kids to learn STEM principles and get excited about science and engineering. Ozobot adds that robotics education offers a blend of hands-on learning, computational thinking and creative expression.
In practice, a children’s robotics project follows a loop that repeats at every level, from a drawn path to a coded sensor challenge:
- Build or plan the robot. Younger children may start with a physical path on paper rather than electronics. Older children assemble a chassis, motors and sensors from a kit.
- Give it instructions. The child turns an idea into a sequence the robot can follow, using drawn instructions, blocks or, later, text code.
- Run it and watch what happens. The robot’s behaviour shows immediately whether the instructions worked.
- Change one thing and try again. A wrong turn or a missed target becomes a clue about which instruction to revise.
The loop explains why robotics holds attention. The child sees a physical result for every decision, so abstract ideas such as sequence and angle become visible. The same loop shapes the skills below.
What children practise along the way
Robotics is not one skill. Ozobot’s grade-by-grade guidance shows the focus shifting as children grow:
- Cause and effect, and sequence. For kindergarten through grade 2, Ozobot lists cause-and-effect relationships, sequential thinking and basic storytelling and narrative structure as key focus areas.
- Programming logic. For grades 3-5, the focus moves to an introduction to programming logic, basic loops and conditional thinking.
- Coding, engineering and teamwork. SmartLab says middle school robotics can introduce higher-level STEM concepts through coding, engineering and teamwork.
- Creative expression. Storytelling at the youngest level and design choices later keep robotics from being only technical. It suits children who prefer making and narrating to pure puzzles.
These skills build on each other, which is why the starting point matters. The next section turns them into an age-by-age plan.
Starting age and activities by stage
Children can start in kindergarten. SmartLab says robotics systems and simple kits work really well for early elementary learners and kindergartners. For this age, a physical activity can come before any screen or kit.
| Stage | Learning focus | Example activity | Planning use |
|---|---|---|---|
| Kindergarten to grade 2 (ages 4-7 in SmartLab’s grouping, about 5-8 in Ozobot’s) | Cause and effect, sequential thinking, storytelling | Draw a physical path for a robot to follow | Choose simple kits or unplugged tasks; the aim is giving clear instructions in order, not writing code. |
| Grades 3-5 | Programming logic, basic loops and conditionals | Program a robot to repeat a movement or react to a condition | A good point to move to block-based coding with a real robot. |
| Late elementary and middle school (ages 8-12; grades 6-8) | Higher-level STEM, coding, engineering, teamwork; advanced programming and sensor integration | Fourth-grade task: build and code a robot that uses a golf club to hit a golf ball, using a protractor for angles | Suits kits with sensors and group projects where children split building and coding. |
| Grades 9-12 | Text-based programming, advanced engineering, career exploration | Projects written in text programming languages | Suits teens who already have block-coding experience and want open-ended engineering. |
Age ranges and activities come from SmartLab and Ozobot; the two guides group ages slightly differently, so treat the bands as guides rather than cut-offs.
Use the table to decide what to try next, not to hold a child back. A child who has never programmed can still begin with the sequencing and loop activities in the earlier rows. A child who has outgrown a stage’s task should move up a row rather than repeat it with fancier parts. Ozobot also notes that high school students are ready to treat robotics as a legitimate pathway to future careers, so older teens are not too late to begin.
Choosing an educational robot kit
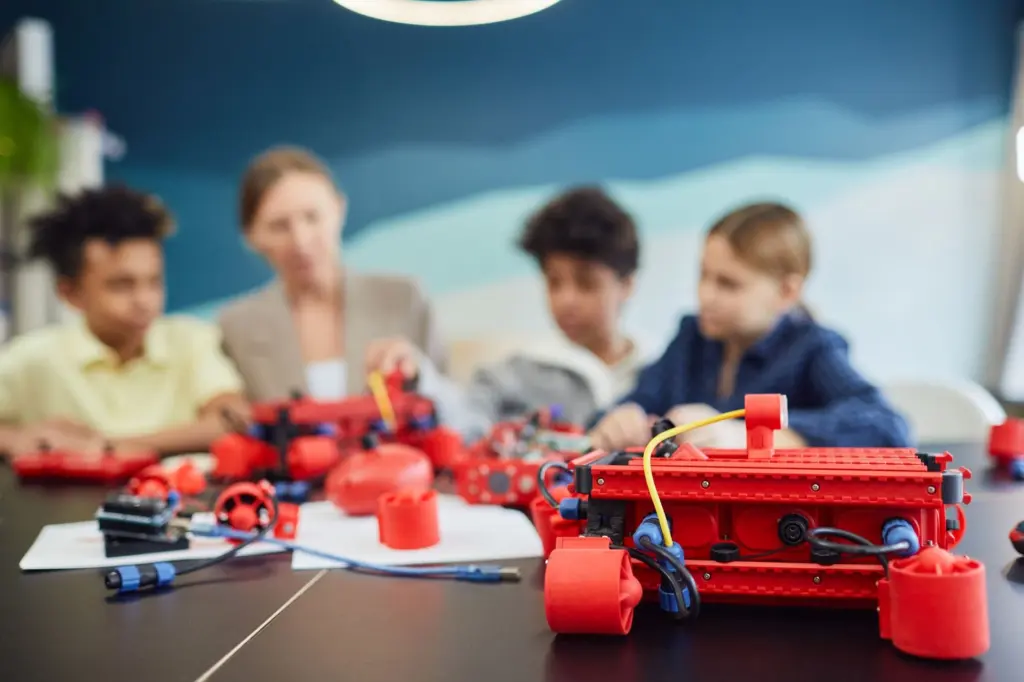
An educational robot kit bundles the parts, instructions and a coding option in one box. Judge a kit on these points: whether its coding tool matches the child’s level, how much assembly effort it demands, and whether the child can keep growing with it. The table above gives the first answer. Kits for the youngest children should lean on simple, physical play; kits for older elementary children and up should add sensors and visual programming.
Otto DIY is one manufacturer example that shows what to look for. Its parts include external pieces, 4 micro servo motors, sensors and buzzers, and the robot runs on two AA batteries. Its Blockly option is block-based and aimed at beginner to intermediate coders. A kit that spells out its parts, power source and coding tool like this makes comparing options straightforward.
TheCoderSchool uses mBot, a STEAM education robot, as its standard for robotics camps and classes. That shows a common pattern: one reusable robot, with the lessons growing around it. For a ranked comparison of specific products by age and skill, see Best Robotics Kits for Kids in 2026: Hands‑On STEM Kits for Every Age and Skill Level.
Coding paths: from Scratch to text
Scratch and block coding
Scratch is the usual starting point. TheCoderSchool notes that students new to programming can code their robots with the beginner-friendly language Scratch. Block languages let children snap together instructions instead of typing, so they can concentrate on sequence, loops and conditions. Some kits build on this directly: Otto Scratch AI is a server-based option that gets the robot moving even for those completely new to coding.
Moving toward text-based code
Block coding is a stepping stone, not the end point. Ozobot’s guidance places text-based programming languages in the high school stage, after advanced programming and sensor work in middle school. A sensible sign that a child is ready to move on is that block programs feel easy and the child wants finer control over how the robot behaves. Until then, deeper projects in the same block language are usually a better use of time than a language switch.
Next steps and common pitfalls
Robotics rewards repetition, so the best next step is usually another project at the same stage that changes one variable: a longer path, a new sensor, or a story the robot acts out. Children also tend to enjoy giving their robot a personality; if a household machine is the one getting a name, Good Names For Your Robot Vacuum: 40 Clever, Cute, And Practical Ideas offers a starting point. For broader reading, the robotics section covers other types of robots.
Three pitfalls come up repeatedly:
- Buying above the stage. A kit built around sensors and advanced logic will frustrate a child still learning sequence. Match the kit to the row of the table, not to the age printed on the box alone.
- Skipping the unplugged step. Drawing a path for a robot to follow teaches the idea of instructions before any code exists, and it costs nothing.
- Treating the kit as the goal. The learning comes from planning, testing and revising. A finished model that sits on a shelf teaches less than one that is changed again and again.
Frequently asked questions
How long does a beginner robot take to build?
Otto DIY says its instructions make it simple even for young kids to build the robot in 1-2 hours. There is no soldering, and the connections are made with a Phillips screwdriver. Other kits will differ, so check the manufacturer’s stated build time.
Do robotics activities need an expensive setup?
No. Ozobot states that meaningful robotics education does not require extensive equipment budgets. Drawing a path for a robot to follow is a kindergarten-level activity that needs little more than paper and a simple robot.
Is robotics only for young children?
No. Older students move on to advanced engineering principles, text-based programming and career pathway exploration in grades 9-12, according to Ozobot’s guidance.
Does robotics teach more than coding?
Yes. SmartLab describes robotics as combining science, mathematics, technology and design, and Ozobot lists creative expression alongside computational thinking and hands-on learning.